Fabric Wallpaper Tutorial
Pattern, color, texture, personality…these are all things that are loved in a good wallpaper, but a heftier price tag and fear of commitment often scare people (me!) away.
While there are a number of tutorials on the wonderful world wide web about this process, I’ve acquired some opinions of my own that I’d love to share.
And to all the lovely souls who have DM’ed me about my process and have read through my chicken scratch responses, I figured it would be best if I write up an official tutorial, including photos, for the sake of the art…and everyone’s sanity. Read through my process, but don’t hesitate to follow your nose and do what works best for you and your project. Don’t forget I’m always here to pat your back along the way!
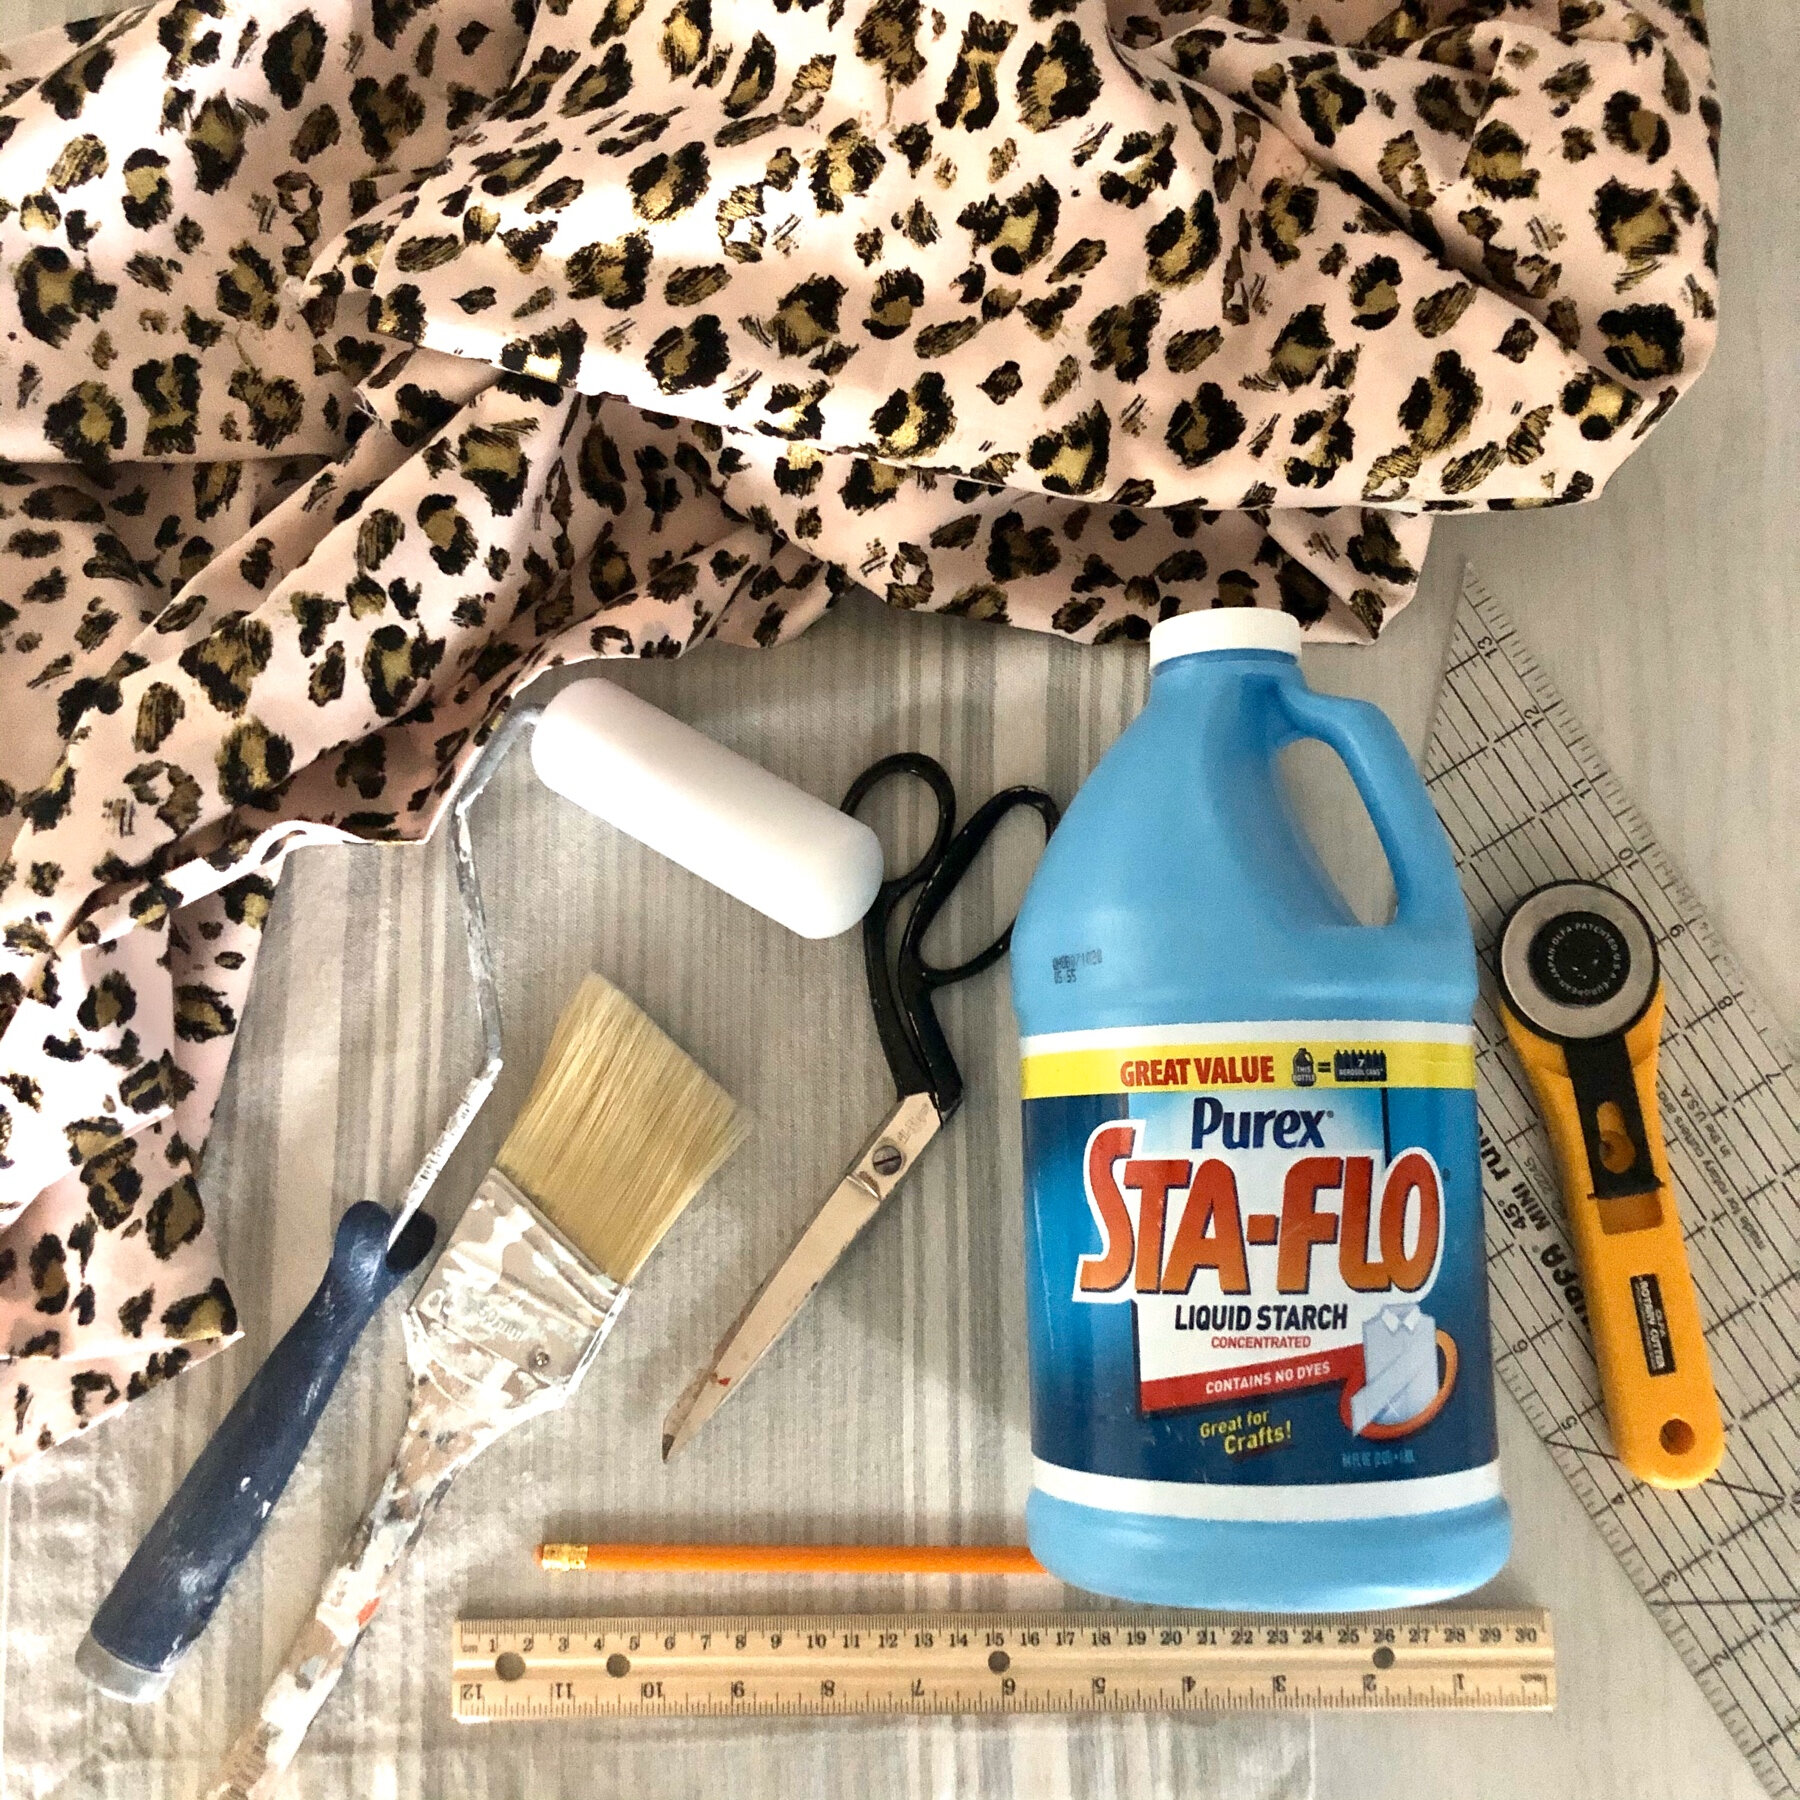
Supplies:
Fabric
Liquid starch
Step stool
Small nails/tacks
Hammer
Pencil
Fabric scissors
Bucket/large bowl
Paint brush
Foam paint roller and tray
Tarp
Friend
Fabric Selection:
Consider the pattern of the fabric - How well will the pattern connect at the seams? Floral or heavy pattern/color prints work best. Avoid a grid pattern (at least for your first attempt) because you want the natural stretch and pull to work to your advantage. Also, I prefer quilting fabric/thin cotton or microfiber. If the fabric is too think the seam will appear too bulky. Tip: Sheets or duvet covers are an inexpensive way to buy bulk fabric for a luscious look at a cheapy cost!
Wash & Dry:
Pre wash and machine dry your bulk fabric to avoid any post project shrinkage. Remove promptly from dryer and shake out large wrinkles, but no need to iron.
Measure & Cut:
If using fabric off a bolt, cut your first strip with a few inches overhang on ceiling, side (if butting up against a corner or trim) and bottom baseboard. It’s easier to work with if it’s roughly the correct size.
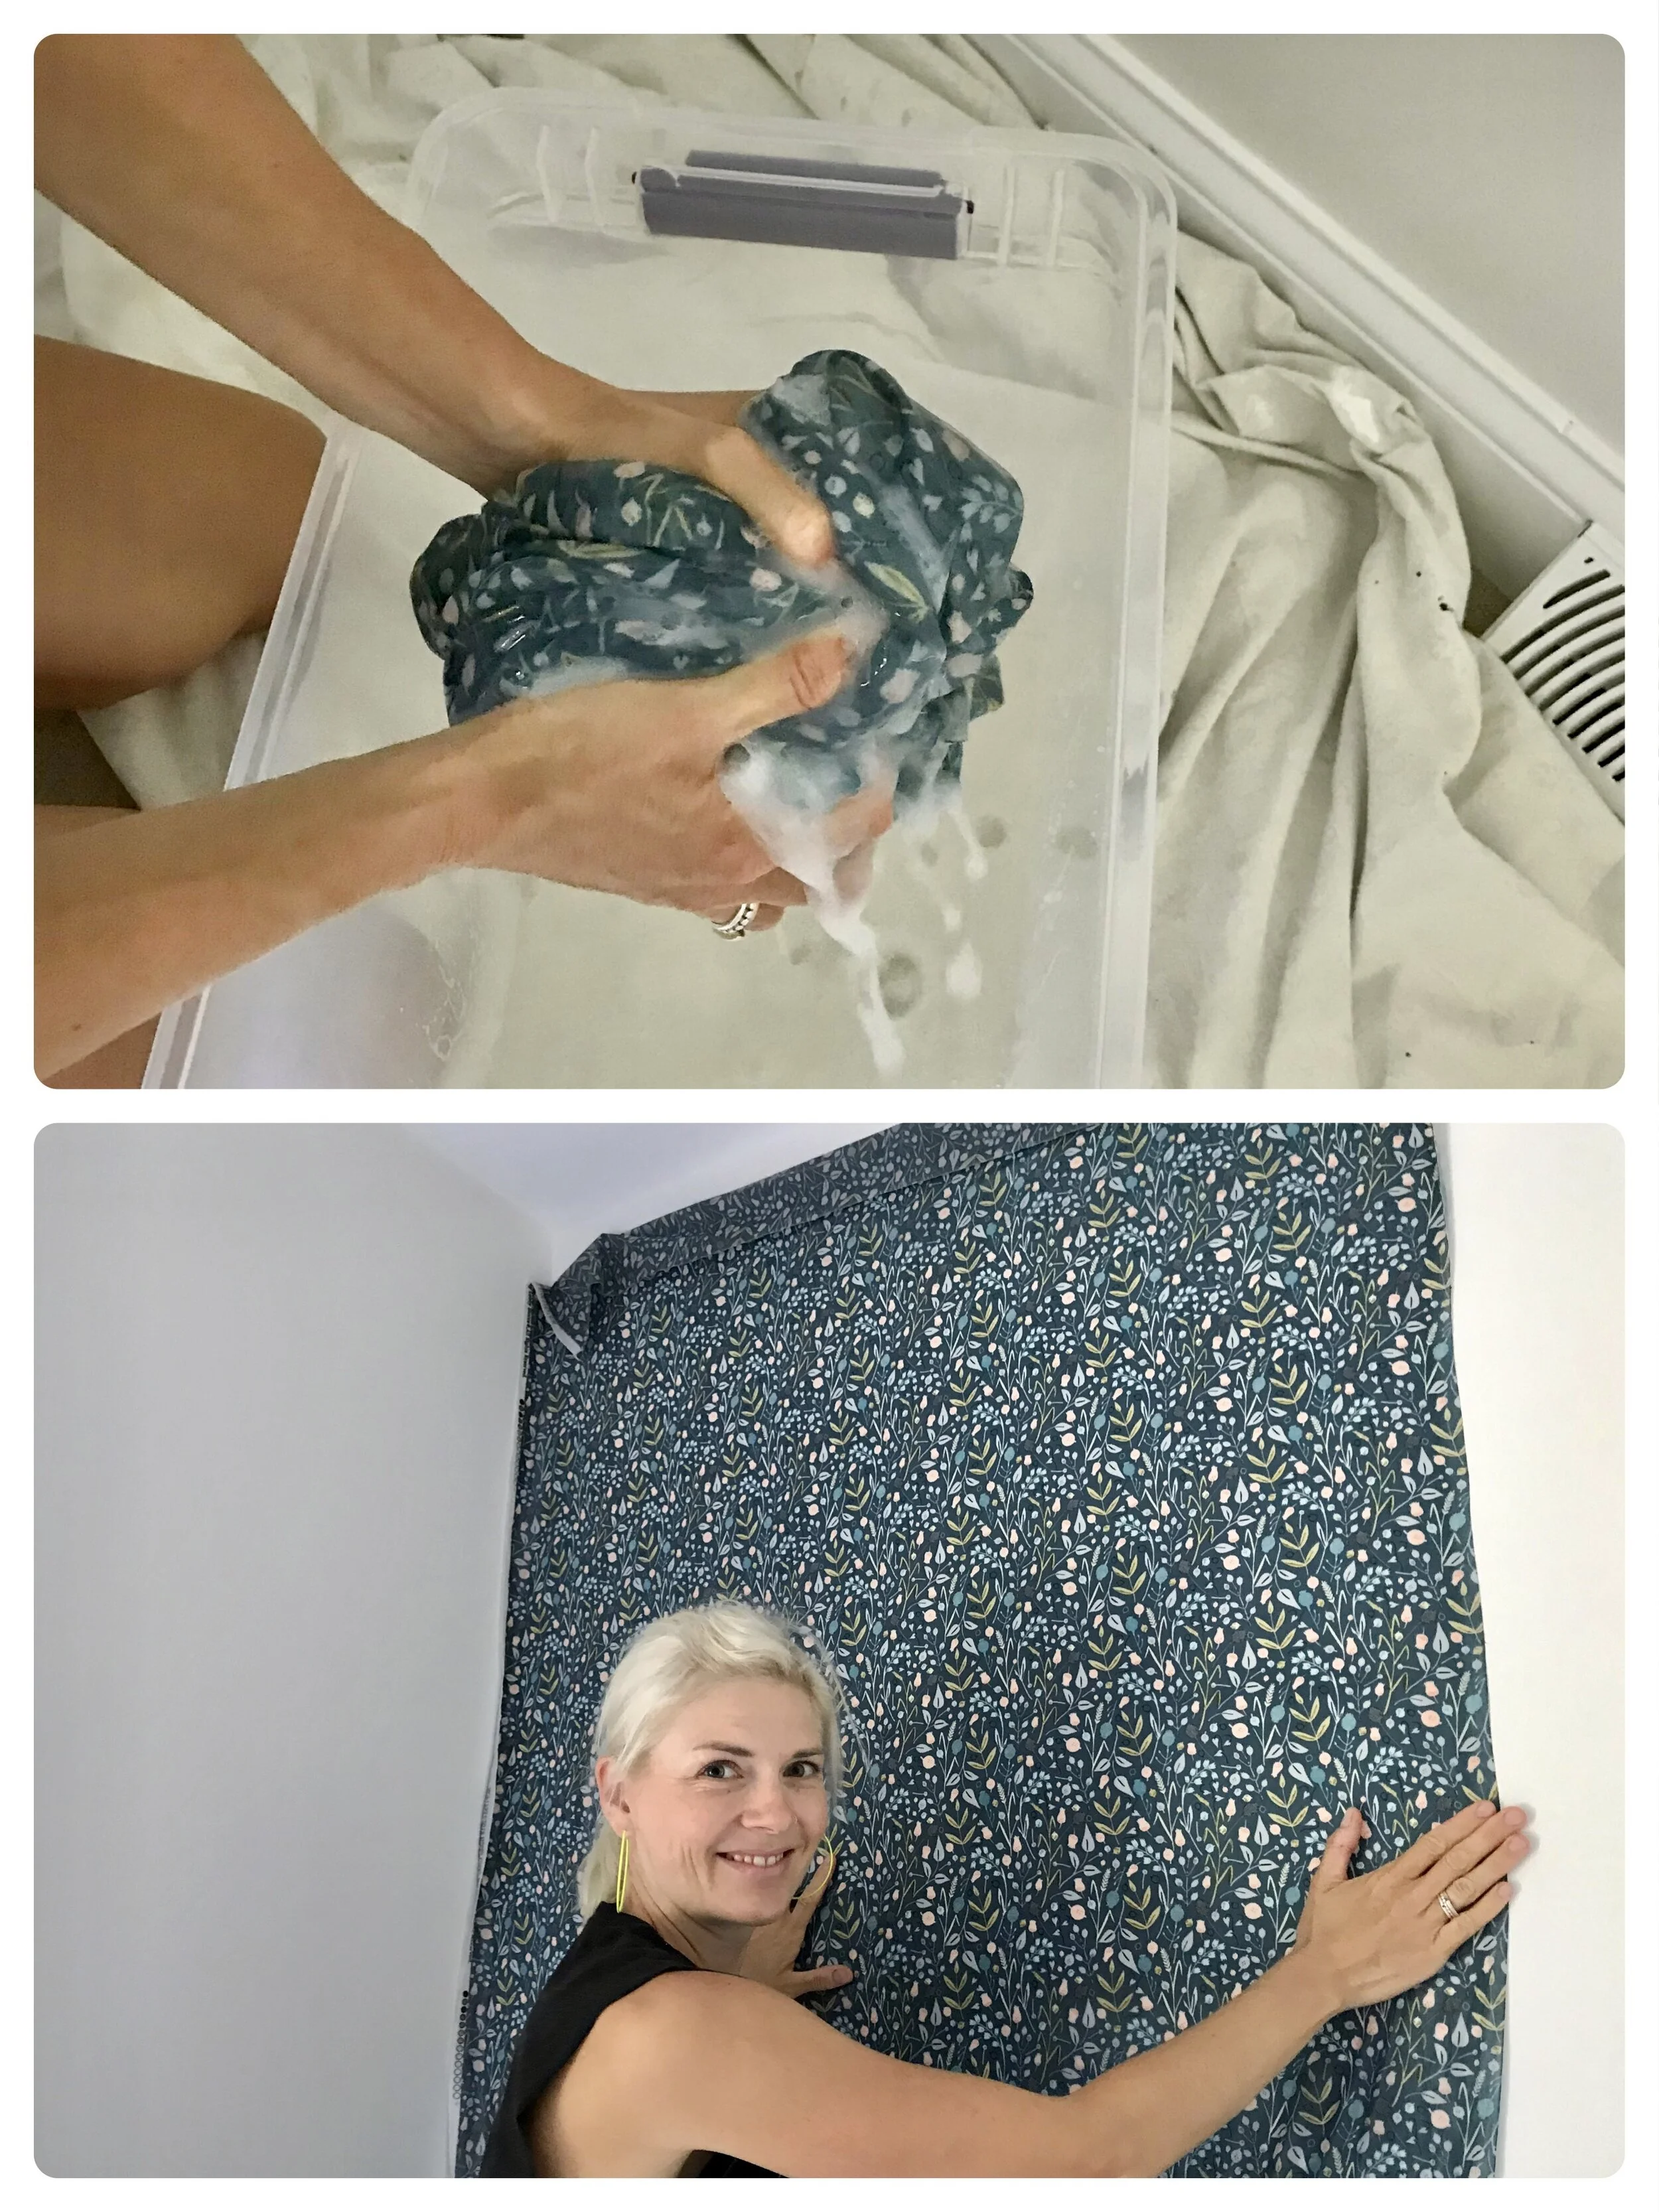
Fully saturate your fabric section by dipping into liquid starch. Lightly wring dry with your hands.
Roughly place your fabric on the wall, leaving a small overhang on all sides. Tack fabric to the top of the wall, this will take the weight off the piece as you start to smooth it into place.
The wet fabric will being to adhere to the wall. Start in the center and smooth out wrinkles and bubbles with your hands until fabric is flat on the wall. (You will need to adjust your tacks since they most lightly won’t line up with your fabric anymore.)
Use your foam paint roller and add another layer of liquid starch. This will continue to help smooth and also re-wet any areas that may have started to dry. (You can also use a paint brush for the edges.)
While the surface is still wet, crease fabric along ceiling, corners and baseboards/trim.
Use your pencil to lightly mark the crease.
Slightly pull fabric edge away from the wall and cut along the pencil line. Make your cuts straight and perfect, these little details will prove for a better outcome!
When fabric is properly trimmed, smooth fabric back into place. Re-wet with more liquid starch using a paint brush. This will also hide any fraying of the cut fabric edge.
As long as the fabric is wet there is a lot of give. If you are short along an edge continue to push and pull it into place. These details will make your project a success!
Before starting on your next panel:
Consider the pattern of your fabric and how you would like to make your seam. Most prints follow a repeating grid in the pattern. Stand back and look for colors and shapes that stand out in the print. Your eye will view the fabric differently from afar, and when used in a room, “afar” is the most popular view. For small calicos I follow the large grid, but don’t worry about overlapping the fine print. (Example: in this blue background floral I lined up the prominent pink vertical ‘stripe’ but didn’t worry about overlapping individual leaves, they are not noticed at all. Where as in the toucan print, larger scale in a small room, I painstakingly lined up the image perfectly. It took all my patience but I’m very happy with the outcome.)
Final Step:
Once panels are all in place, even after the starch has dried, you can go back and repair any air bubbles or rippling. This same method applies weeks/months later. If you need to spot wash, or a corner comes loose from a picking kid, simply brush with additional starch and repair the specific area. The starch will dry with a clear, matte finish. I haven’t had any issues with fabric not adhering or coming loose over time. I even experimented with this process in a bathroom. With the humidity a year and a half later (and one spot wash after a beanie baby was thrown into the “pool” and toilet water splashed my bathroom) my toucans are still going strong!
And if that wasn’t exciting enough, when you’re ready for a change in your space, simply release (aka pick) at one corner and the panels will peel right off. There may be some slight residue that an be washed with warm water, and possibly some small tack holes to be patched at the top of your wall, but even a quick coat of paint (for the perfectionists) beat stripping wallpaper, patching and sanding. And one more bonus, simply run the fabric through the wash to remove starch and you can sew yourself a new shirt!


